A guide to maintaining and repairing fences on-farm
Completing fencing maintenance on-farm is best achieved in spring or autumn before strip grazing/break fencing in winter. For a quick overview of what checks to do, we spoke with Shane Nolan, Head of Sales -Livestock at Datamars.
Safety first, so be sure to turn the electricity off at the fencing main. If you’re out checking fence line in paddocks, and your unit has a remote, you’ll be able to place the unit on standby to enable you to safely do repairs.
Shane suggests beginning your checks at the main power source for your electric fence. Firstly, visually check the unit is working optimally. As Shane says, usually the lights on the energizer indicate how much voltage the main is delivering, an indication of its performance.
Next, check the cables that carry the voltage out to the fence line. These cables are known as underground or lead-out cables and are connected to the mains unit. Shane says as well as the cables check the joint clamps too, looking for any obvious issues. Also, Shane recommends grabbing a fault finder and placing it at the start of the fence, close to energizer or mains unit, to read the voltage running through the fence. The bigger the number displayed on the screen, Shane explains, the more voltage is being lost. So, if you see a low number, no action is required, but a high number indicates there’s a fault that needs attention.
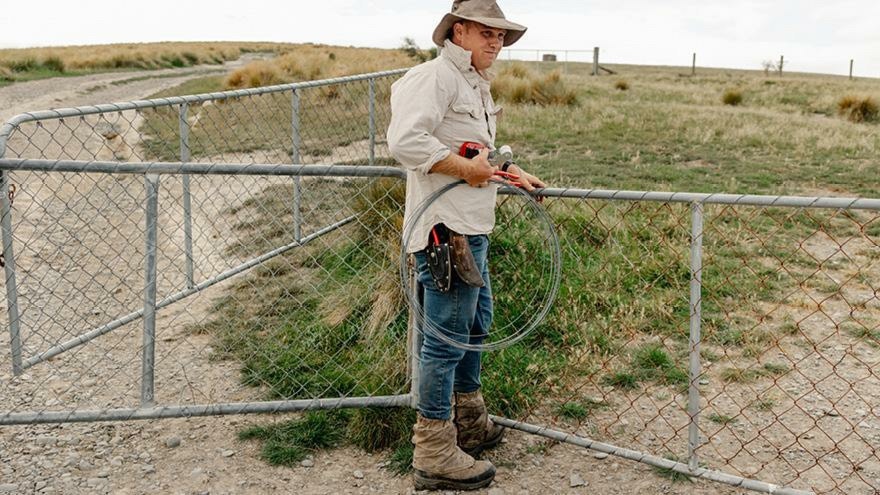
As you head further out onto the farm, a good idea at this time of year is to carry a kit with replacement parts and fencing tools, so when you identify a fence in need of repair, you simply jump out of your quad or ute and grab the kit.
In the kit, Shane suggests having underground cable, joint clamps, insulators that match your current system, electric crimp sleeves, cut-out switches and a fault finder. Tools are a must as well, with Shane recommending a hammer, chain strainer, wire strainer and pliers. A fault finder, Shane says, is handy as it indicates a fault by displaying a number on the screen; the amount of current being lost on that section of fence line.
As you move around the farm, check the fence line to ensure objects aren’t touching the fence. This includes grass growing too high and touching the bottom wire, branches overreaching and touching wires along with overgrown shrubs.
A good point raised by Shane is related to the earth system. If you have recently expanded your electric fence line or upgraded to a new unit, make sure you’ve upgraded your earth system to match the new voltage. If you haven’t checked your earth system in some time, the power along the fence line may not be reaching all the paddocks. So be sure to check your earth regularly.
To build up your fencing kit, visit us online to view our complete range of fencing tools and equipment.